
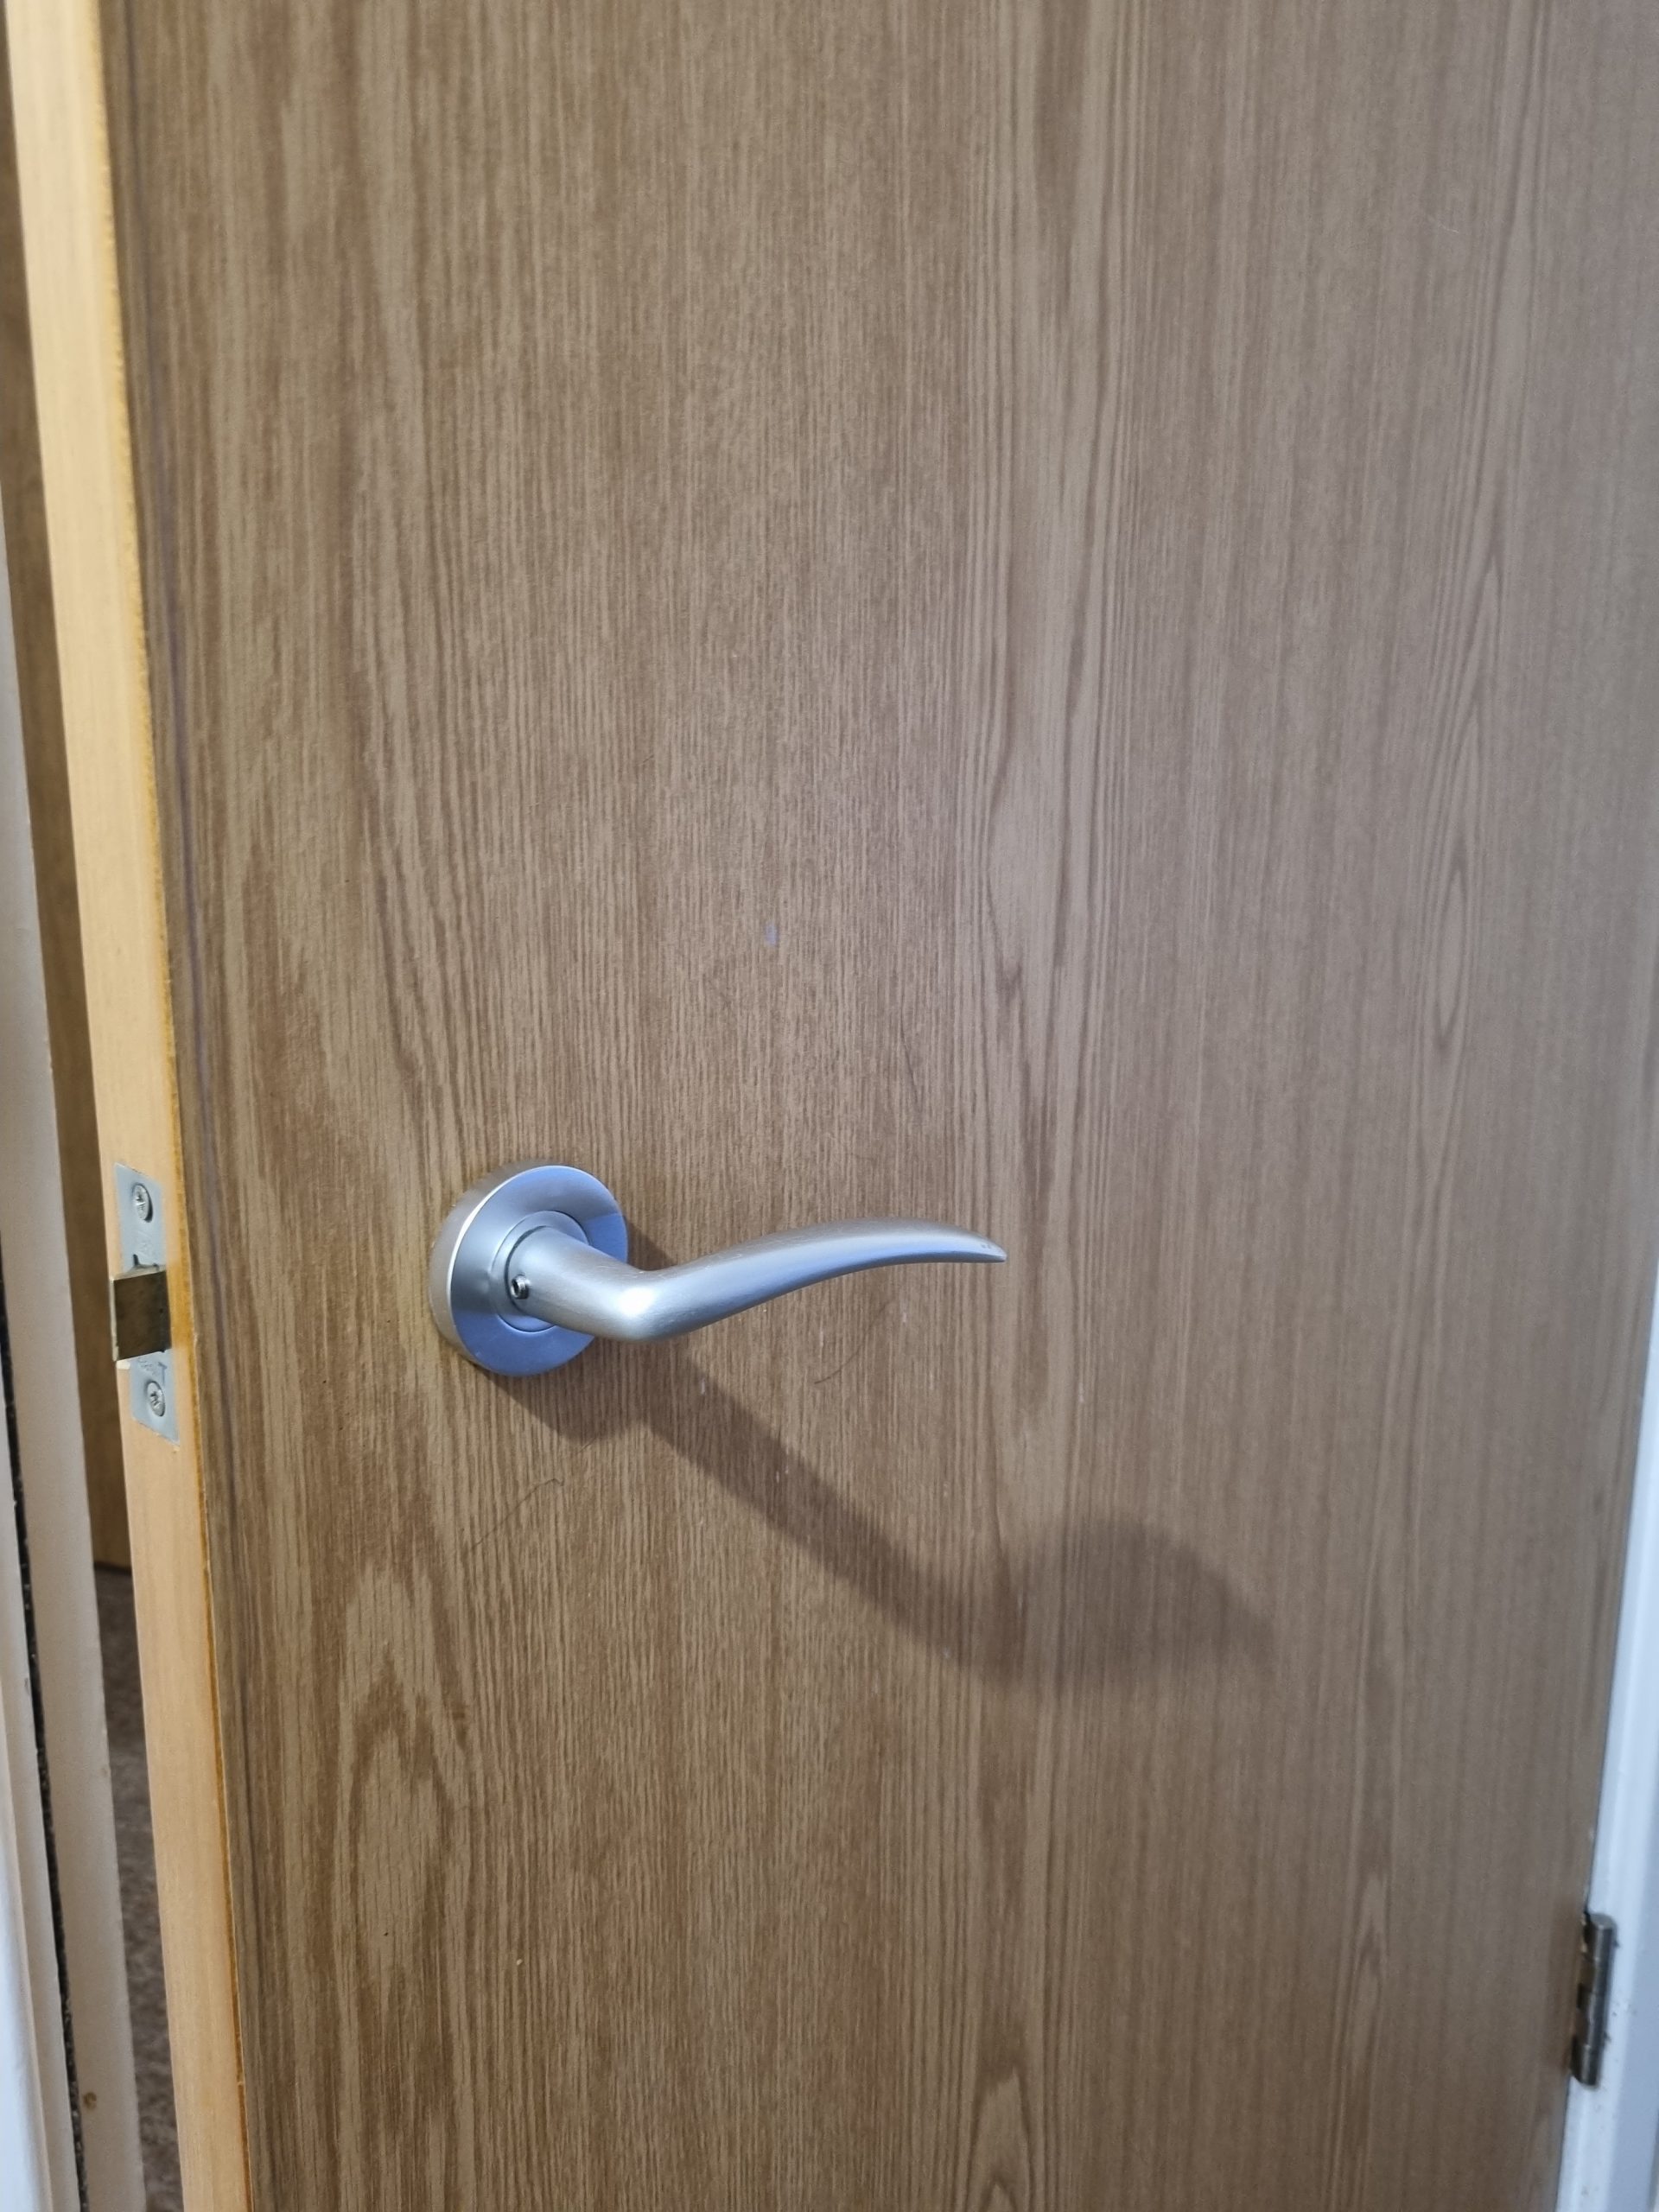
Replacing a door handle can be necessary due to damage or for decorative reasons. Follow these steps to change a door handle easily:
What You’ll Need:
- New door handle and screws
- Flathead screwdriver
- Phillips head screwdriver or cordless screwdriver
- Wedge for the door
Step 1: Prepare the Door
Before you start, wedge the door open with a door stop. This will prevent the door from closing accidentally when the handles are off.
Step 2: Identify the Type of Handle
If you don’t see any screws on the door handle, it may have a plate covering the screws. There are two ways to deal with this:
- Ease Off the Plate: Use a screwdriver to find the notch at the base or side of the fitting and gently ease off the plate.
- Screw-Off Plate: Check if the plate can be unscrewed. Determine which type of fitting you have.
Step 3: Remove the Cover Plate
Remove the cover plate from the handle by unscrewing the screws on the plate. Once the screws are removed, slide both handles off.
Step 4: Install the New Handle
Slide the new handle with the latch mechanism through the door handle hole, ensuring it lines up with the door latch. When the mechanism is lined up and visible on the other side of the door, attach the second handle.
Step 5: Check the Handle
Before securing the screws, check to see if the handle is working properly. This ensures that everything is aligned correctly.
Step 6: Secure the New Handle
Screw the new handle in place of the door. Make sure all screws are tightened securely.
Step 7: Test the Door
Test the door again to make sure the handle is working before closing the door. Give the handle one final check to ensure everything is functioning correctly.
And there you have it! You’ve successfully replaced a door handle. For more hints and tips, visit our website.


Leave a Reply