
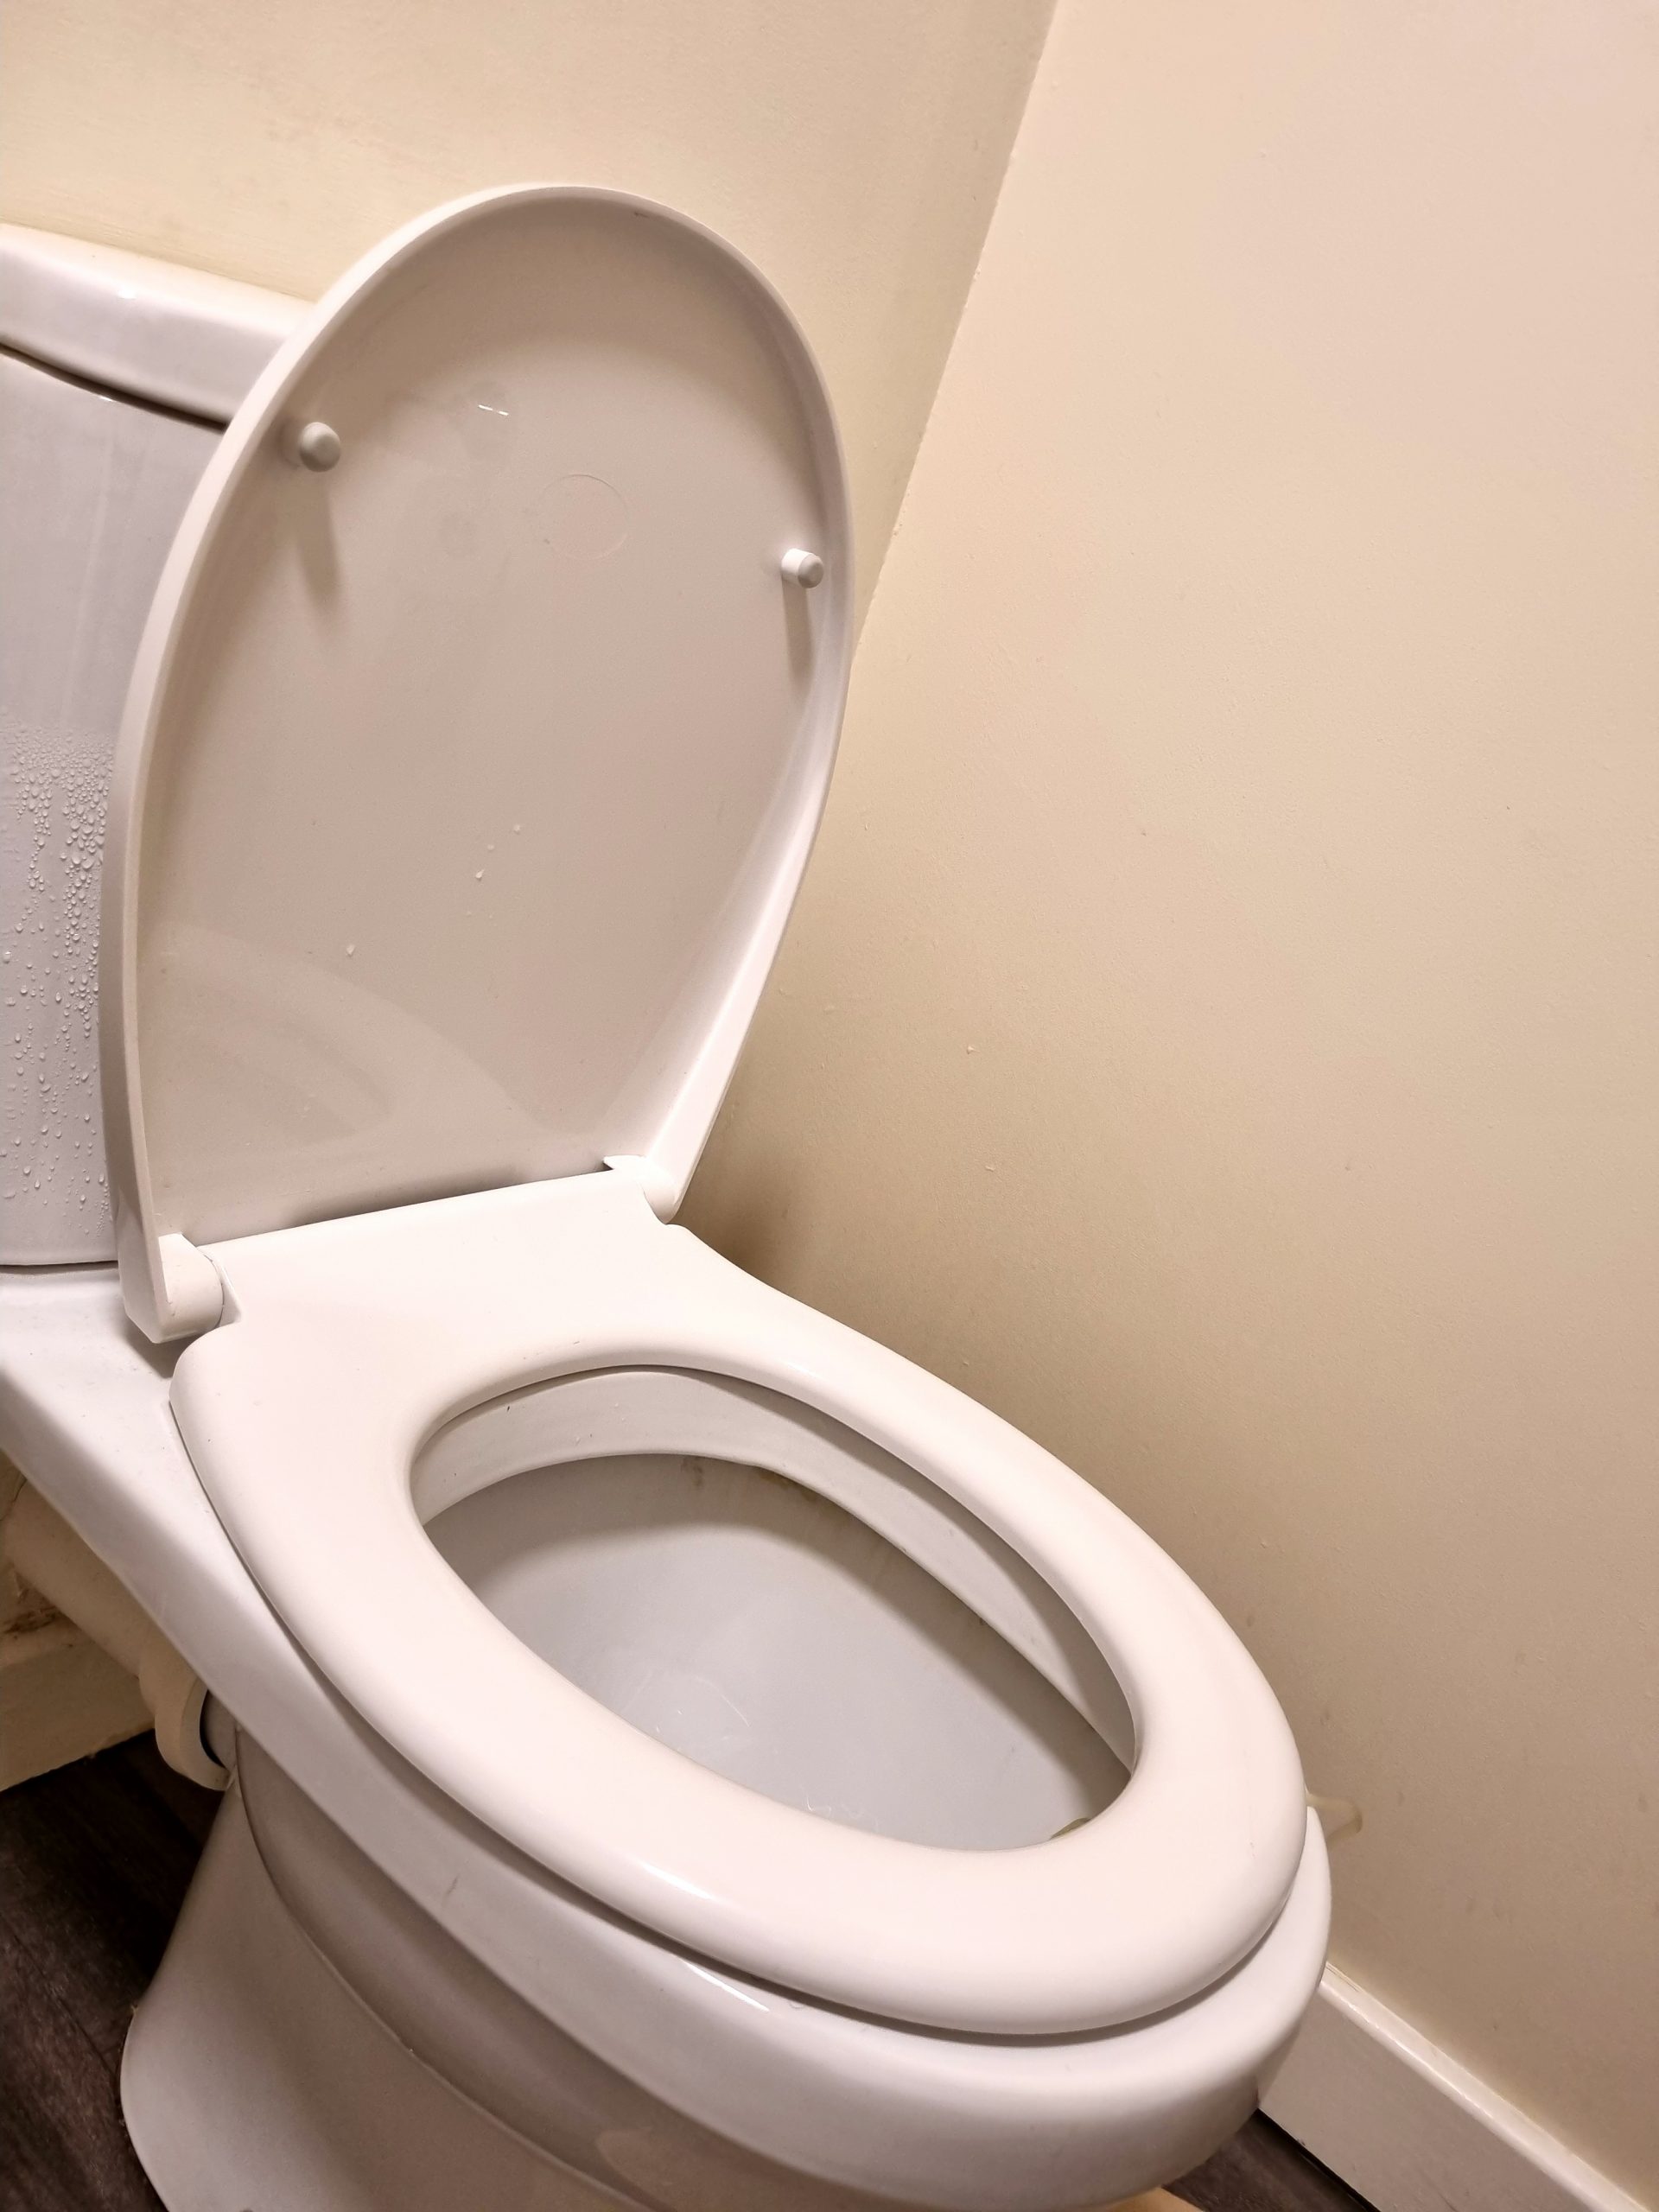
How to Change a Toilet Seat
Changing a toilet seat is a simple DIY task that can make a big difference in your bathroom. Follow these steps to replace your old, worn-out toilet seat with a new one.
Materials Needed:
- New toilet seat
- Adjustable wrench or pliers
- Screwdriver (if needed)
Step 1: Remove the Old Toilet Seat
- Locate the Wing Nuts: Look under the toilet bowl to find the wing nuts securing the seat. These are usually plastic or metal nuts.
- Loosen the Wing Nuts: Use an adjustable wrench or pliers to loosen the wing nuts. Turn them anticlockwise until they come off.
- Remove the Seat: Once the wing nuts are removed, lift the old toilet seat off the bowl.
Step 2: Prepare the New Toilet Seat
- Unbox the New Seat: Take the new toilet seat out of its packaging. Check that all the necessary parts are included, such as screws, washers, and brackets.
- Position the Seat: Place the new seat on the toilet bowl, aligning the holes in the seat with the holes in the bowl.
Step 3: Install the New Toilet Seat
- Insert the Screws: Insert the screws through the holes in the toilet seat and the bowl.
- Add the Washers: Place the washers on the screws from underneath the bowl. This helps to secure the seat and prevent it from moving.
- Tighten the Wing Nuts: Screw the wing nuts onto the screws from underneath the bowl. Use your hands to tighten them as much as possible, then use the wrench or pliers to give them a final turn. Be careful not to overtighten, as this can damage the toilet bowl.
Step 4: Adjust and Secure the Seat
- Check the alignment: Ensure the seat is properly aligned with the toilet bowl. Adjust if necessary.
- Tighten Further if Needed: If the seat feels loose, tighten the wing nuts a bit more until the seat is secure.
Step 5: Test the New Seat
- Open and Close the Seat: Ensure the seat opens and closes smoothly.
- Check for Stability: Sit on the seat to ensure it is stable and doesn’t move.
And there you have it! A brand-new toilet seat is installed and ready for use. If you found this guide helpful, please like and subscribe for more DIY tips and tricks!


Leave a Reply