
How to Change a Euro Cylinder Lock
Changing a Euro cylinder lock is a straightforward process. Follow these steps to ensure a smooth replacement.
Materials Needed:
- New Euro cylinder lock
- Screwdriver
- Measuring tape
- The key for the existing lock
Step 1: Measure the Existing Lock
- Open the Door: Ensure the door is open to access the lock.
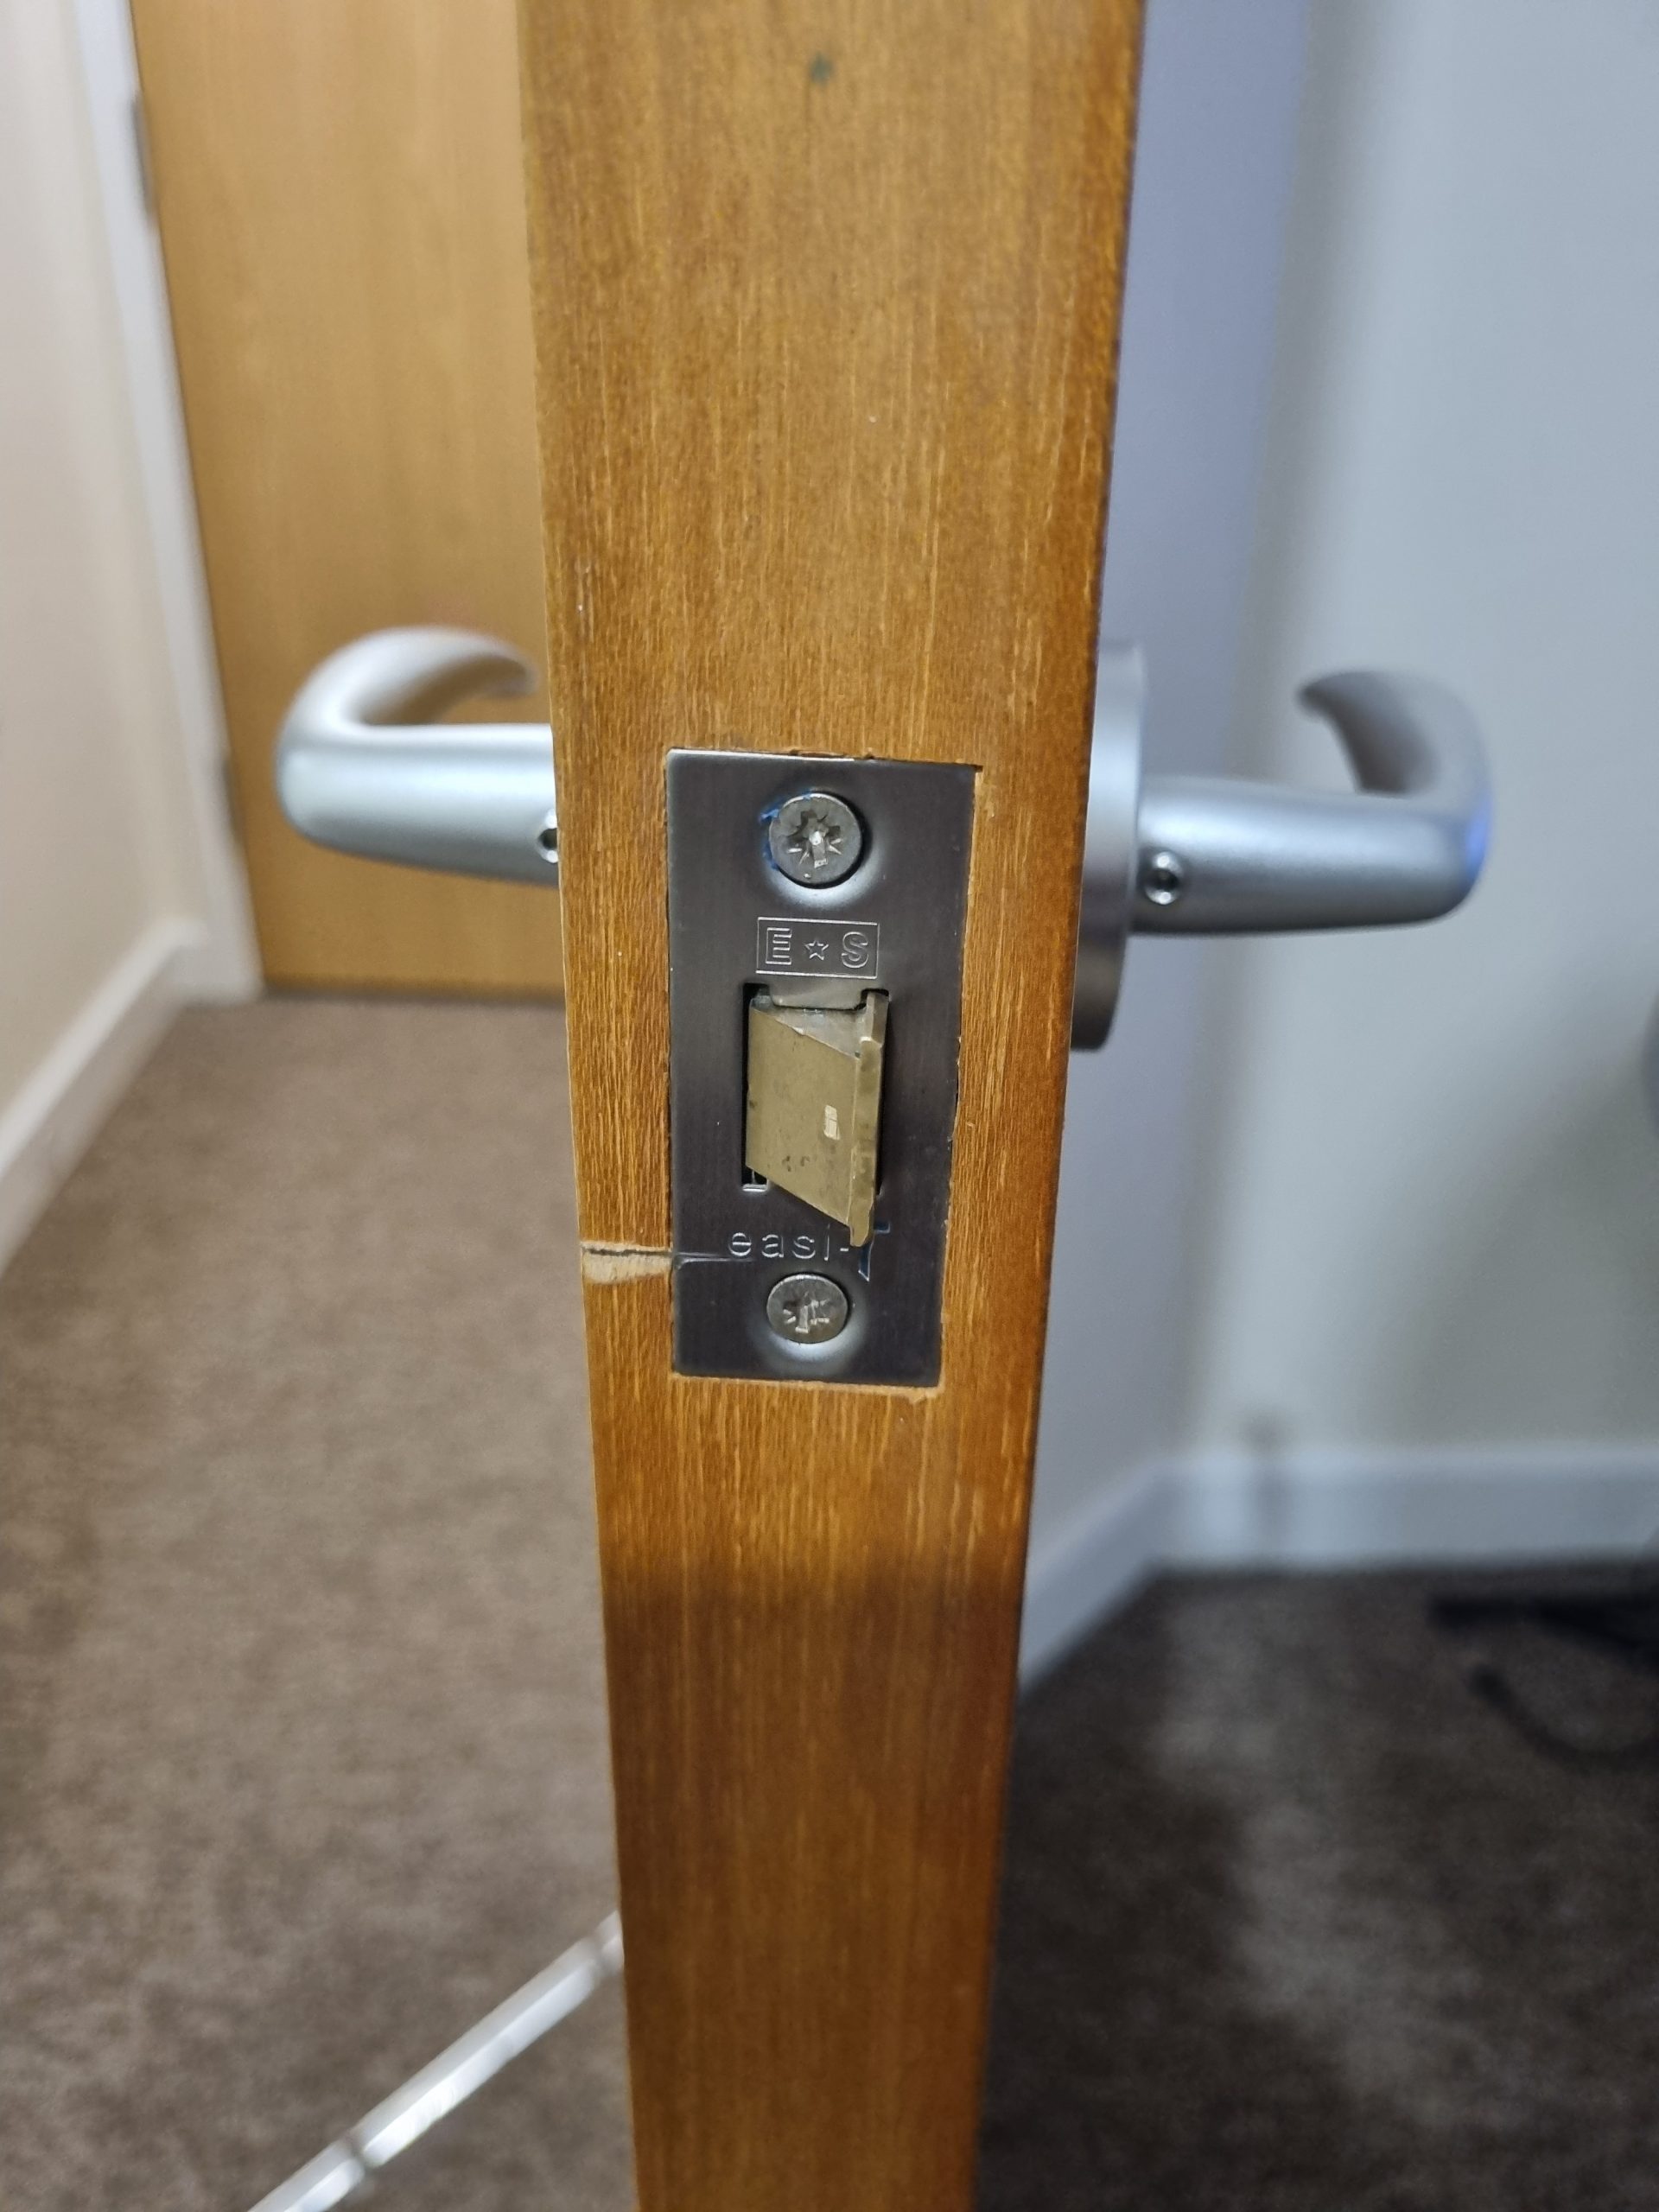
- Locate the Centre Screw: Find the centre screw that holds the lock in place.
- Measure the Lock: Measure from the middle of the centre screw hole to the face end of the lock on each side. This will give you the length of the lock you need to buy.
Step 2: Purchase the Replacement Lock
- Choose the Right Lock: Euro cylinder locks come in different profiles, finishes (such as brass and chrome plates), and security ratings. Select one that matches your needs.
- Ensure Correct Length: Use the measurements you took to buy a lock of the correct length.
Step 3: Remove the Old Lock
- Locate the Lock Fixing Screw: Find the screw that secures the lock in place.
- Loosen the Door Handle Screws: Slightly loosen the screws on the door handle to relieve any pressure on the lock.
- Remove the Fixing Screw: Use a screwdriver to remove the fixing screw.
- Align the Cam Tongue: Insert the key into the lock and turn it slightly (about an eighth of a turn) to align the cam tongue with the body of the lock.
- Remove the lock: Gently pull on the key while turning it. When the cam tongue is lined up, the lock will move towards you. You may need to try turning the key to the left and right before the lock starts to move.
Step 4: Install the New Lock
- Insert the New Lock: Follow the removal sequence in reverse order to fit the new lock.
- Secure the Lock: Insert the fixing screw and tighten it to secure the lock in place.
- Tighten the door handle screws: Ensure the door handle screws are tightened to hold the lock securely.
And that’s it! You’ve successfully changed your Euro cylinder lock. For more DIY ideas and tips, visit diy.com. Happy DIY-ing!


Leave a Reply