
There are few sounds more annoying than the rhythmic drip… drip… drip of a leaky tap. It keeps you awake at night, it wastes a surprising amount of water, and it leaves a nasty limescale stain in your sink.
Your first instinct might be to call a plumber, but for a standard tap, the call-out fee alone can be a shock. The good news? Fixing a leaky tap is one of the easiest DIY jobs you can tackle. Usually, it just requires a 50p washer and about 20 minutes of your time.
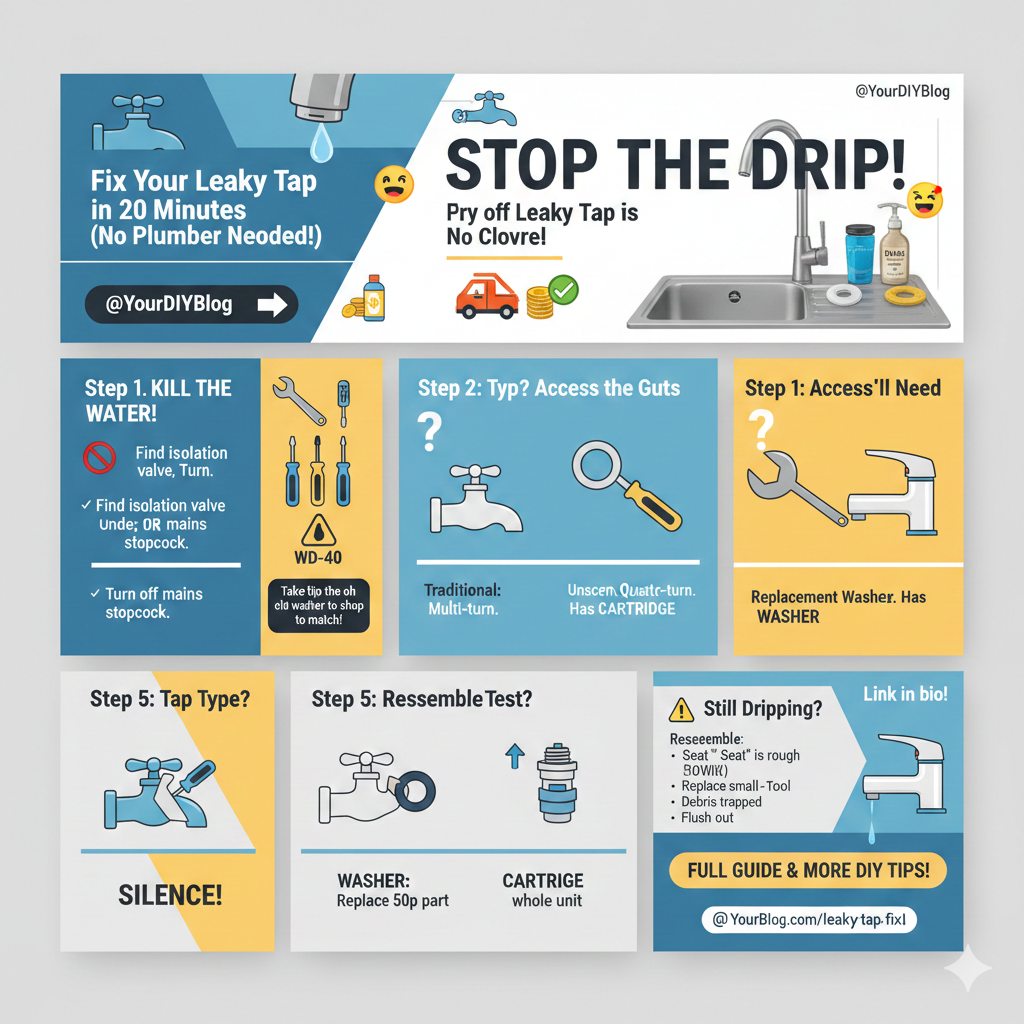
Here is your step-by-step guide to silencing that drip and saving money.
🛠️ What You Will Need
Before you start, gather your tools. You likely have most of these in your kitchen drawer already.
- Adjustable wrench (spanner): Or a set of open-ended spanners.
- Screwdriver: Usually a cross-head (Phillips) and a flat-head.
- Replacement parts: A variety pack of washers (O-rings) or a replacement ceramic cartridge (more on this below).
- WD-40: In case the screws are seized.
- An old towel: to protect the basin.
- Cleaning cloth: To wipe away grime while the tap is taken apart.
Pro Tip: If you don’t know exactly which size washer you need, take the tap apart first, remove the old washer, and take it to the hardware store to match it perfectly.
🛑 Step 1: The Golden Rule (Turn Off the Water!)
This is the most critical step. If you skip this, you will have a fountain in your kitchen.
Look under the sink for the isolation valve on the pipes leading to the tap. It usually looks like a small screw head on the pipe. Turn it a quarter turn so the slot is across the flow of the pipe.
If you can’t find isolation valves, you will need to turn off the water at the main stopcock (usually under the kitchen sink or in the hallway) and run the tap until the pipes are empty.
Crucial Safety Step: Put the plug in the sink! If you drop a small screw down the drain, your 20-minute job just became a 2-hour nightmare.
🔍 Step 2: Access the Mechanism
Most modern taps hide the ugly screws. Look for a decorative cap on top of the tap handle (it usually says ‘H’ or ‘C’).
- Remove the Cap: Use a thin flathead screwdriver or a knife to gently pop the cap off.
- Unscrew the Handle: Under the cap, you will see a screw. Undo it.
- Remove the Handle: Pull the handle up. If it’s stuck, a little WD-40 can help loosen it.
🔧 Step 3: Identify Your Tap Type
Once the handle is off, you will see the “headgear”. You need to unscrew this nut with your adjustable wrench to get to the source of the leak.
Once open, check what kind of tap you have:
- Traditional Taps (Rubber Washer): If you have to turn your tap handle several times to get full flow, you have a compression valve. The leak is almost always caused by a worn-out rubber washer at the bottom.
- Modern Taps (Ceramic Disc): If your tap turns only a quarter-turn to get full flow, it uses a ceramic cartridge. These don’t have washers; you usually have to replace the whole cartridge.
🔄 Step 4: The Fix
For Traditional Taps (Washer Replacement)
- Locate the black rubber washer at the base of the valve.
- It might be held in place by a small nut or just pushed onto a spindle. Remove it.
- Clean the area, ensuring no debris is left behind.
- Pop on the new washer.
- Optional: If the brass “seat” where the washer sits feels rough, it might cut your new washer. You can use a “reseating tool” to grind it smooth, but usually, a simple clean is enough.
For Mixer/Lever Taps (Ceramic Cartridge)
- Take the old cartridge out (it usually just lifts out after unscrewing the locking nut).
- Check the part number or take it to the shop. Size matters here!
- Slot the new cartridge in. Ensure the lugs (little plastic feet) line up with the holes in the tap body.
🏁 Step 5: Reassemble and Test
Now, simply do everything in reverse:
- Screw the headgear back into the tap body (don’t overtighten it—just “nip” it tight).
- Put the handle back on and screw it in.
- Pop the decorative cap back on.
- Turn the water back on. Do this slowly.
- Open the tap to let trapped air sputter out, then close it.
Silence. No more dripping!
💡 Summary
You just saved yourself a hefty call-out fee and extended the life of your bathroom or kitchen fixtures. Plus, there is a serious sense of satisfaction in fixing things with your own two hands.
Have you tried fixing a tap before and had a disaster? Let us know in the comments below!
⚠️ Still Dripping? Troubleshooting Common Issues
So, you’ve replaced the washer, put everything back together, and… drip, drip. Don’t panic! This is common. Here is a checklist to identify what went wrong:
1. The Valve “Seat” is Damaged
If you replaced the washer but the tap still drips from the spout, the brass seat (where the washer pushes down to stop the water) might be damaged.
- The Cause: Limescale or years of water erosion can create small channels or rough patches in the metal. Even a new washer can’t seal against a rough surface.
- The Fix: You need a tap reseating tool. It’s a cheap T-handle tool that grinds the seat smooth again. It takes seconds to use and solves 90% of persistent drips.
2. The O-Ring is Perished
Is water leaking from the base of the handle or the neck of the tap, rather than the spout?
- The Cause: This isn’t the main washer; it’s likely the tiny rubber O-ring on the tap spindle or body.
- The Fix: Take the tap apart again. Look for a thin rubber ring around the body of the valve. Snip the old one off and roll a new one on. A little silicone grease helps it slide back in smoothly.
3. Debris is Trapped
- The Cause: When you scraped away old limescale or removed the old washer, a tiny piece of grit or metal might have fallen into the mechanism.
- The Fix: Remove the valve again. Turn the water on very slightly for a split second (cover the tap with a towel!) to flush out any debris from the pipe. Check the new washer to ensure no grit is embedded in the rubber.
4. The Packing Nut is Loose (Old Taps Only)
If water weeps down the spindle when the tap is on:
- The Fix: There is a “gland nut” or “packing nut” holding the spindle in place. Try tightening this slightly with a spanner. If that fails, you may need to wind some PTFE tape (plumber’s tape) around the threads under that nut.
5. It’s the Wrong Cartridge
For ceramic mixer taps, precision is key.
- The Issue: If the new cartridge doesn’t sit perfectly flush, water will bypass it.
- The Fix: Compare your old and new cartridges side-by-side. Even a 1mm difference in height or the position of the locating lugs can cause a leak.


Leave a Reply